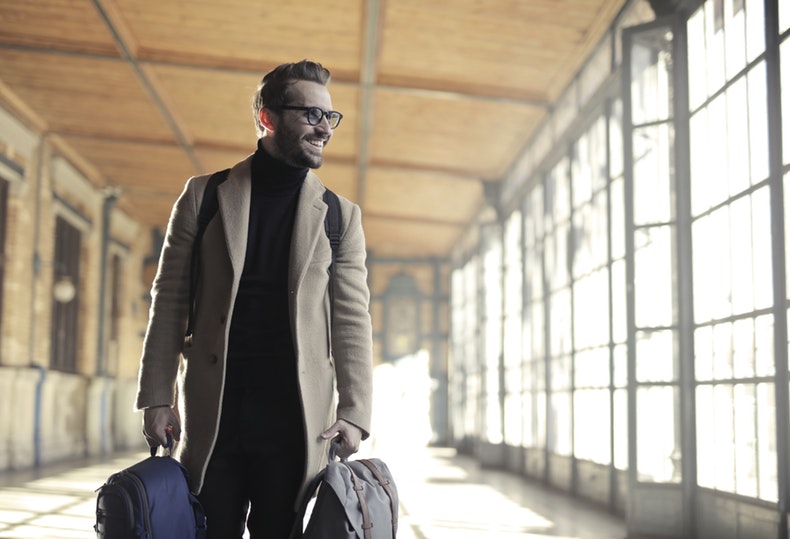
So you want to go to Paris… Or perhaps you want to see the Coliseum in Rome or swim with dolphins in the Bahamas. Before you buy your plane ticket out of the country, though, you’ll need to have your passport in hand. The first thing that the airport attendant will check when you show up is whether or not you have a valid passport.

How Do I Get My Passport?
Getting your passport is a lot easier and simpler than it seems. A lot of people get scared when the see the long list of requirements and papers that they need to fill out on top of scheduling an appointment with their local passport agent.
Don’t let the list scare you, though, it’s really pretty simple once you break it down. Here’s what you need to bring into your local post office when you schedule your passport application appointment:
- Your United States birth certificate
- A current driver’s license or state-issued ID proving your residency
- Completed DS-11 passport form
- Two passport photos
Taking Your Passport Photos
Often, the part that confuses first-time applicants the most is the photo process. According to the requirements, you need two photos. These two photos need to be exactly identical. One will go into your application, and the other will be used on your actual passport when the government prints and issues it to you.
Let’s take a minute to discuss everything that you need to check off when your taking and editing your passport photos.
Photo Requirements
The US government requires you to adhere to a very specific set of rules when taking your passport photos. It’s important that you follow them or else you could be denied, and required to reschedule an appointment with appropriate pictures.
The rules for your passport photos are as follows:
- 2 x 2 inches
- Taken recently, with current appearance
- Identical photos
- Full-face frontal view
- Plain white background
- Taken in normal clothing
- No hats or headgear
- Normal wig and/or glasses should be worn for the photo
- No dark glasses
Setting Up Your Background and Environment
If you’re going to be taking your passport pictures at home, then you’ll need to set up the right environment so that your pictures turn out right. The first thing is to make sure that you have a good amount of lighting. You want your photo to appear clear and well-lit.
Secondly, you need to make sure that your photo background is either white or an off-white shade. Your best bet is to find a white wall, or to photoshop a white background in later on.
Thirdly, you need to set up your camera to take the picture at the right angle. The camera should be facing you head on and should be level with your shoulders and head.
Cropping Your Picture
As mentioned above, your picture should be sized 2 x 2 inches. After you upload your picture to your computer, open it in your photo editing software and resize it accordingly. The photo should be a headshot that includes your upper shoulders and head.
Don’t go overboard with the photo editing as you want your photo to appear as natural and realistic as possible.
There you have it! Take passport photo at home is as easy as apple pie. Once you’ve finished cropping and editing your picture, simply print it out on your photo printer, or take it to the store and print it out with one of the photo printing kiosks.
Within a few short weeks, you’ll have your passport delivered to you by mail and you’ll have the ability to travel anywhere you want in the world.